Skip to content
"CLICK HERE" Checkout our CLOSE-OUT Section! Tons of Amazing Products & Low Prices! "CLICK HERE"

Country

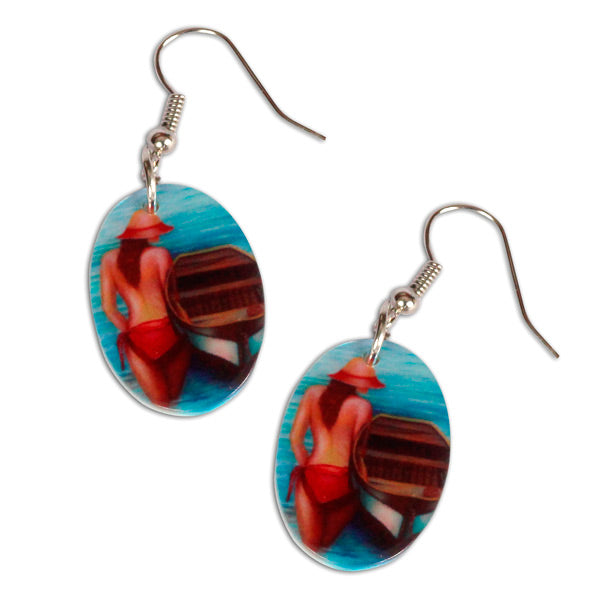
Sublimation Blank Oval Shell Earring

SKU JEWSO1-A
Original price $1.50 - Original price $1.50
Original price
$1.50
$1.50 - $1.50
Current price $1.50

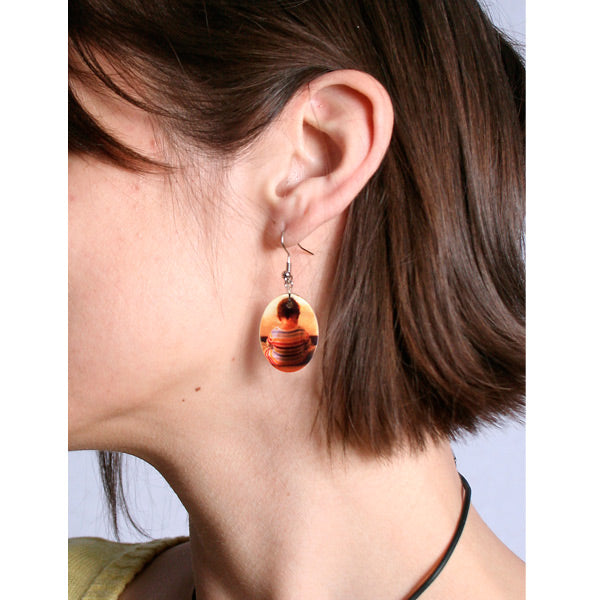
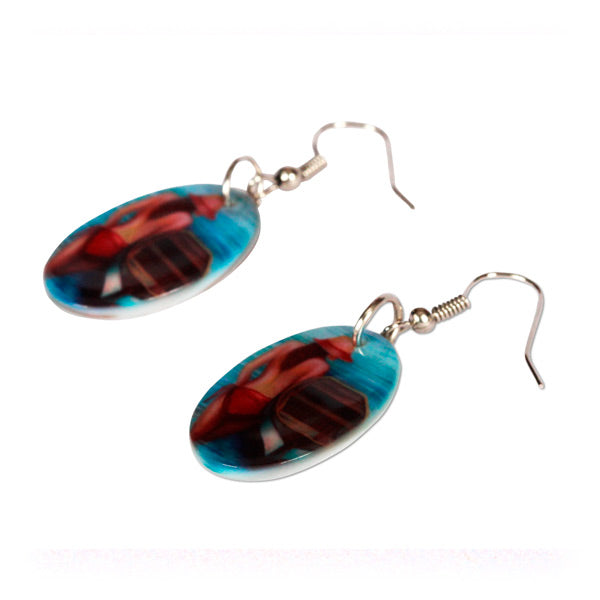
Shimmering natural Mother of Pearl shell pendants and earrings come in four popular shapes and sizes. Shell jewelry prints beautifully, and the shimmering, pearlescent surface lends itself particularly well to bright, colorful images. Pendants include silver bales; earrings include both silver bales and earring hooks. Shell pieces vary slightly in thickness, color and shimmer, just as Mother Nature intended. This adds to the unique charm of each piece. No hand-picking. Black cord necklace sold separately. SIZE- 1" x .69"

NOTE: Earrings are sold individually, not in pairs! A set is defined as a single earring with bale, jump ring, and earring hook. 

TRANSFER INSTRUCTIONS

Mother of Pearl Jewelry

Transferring Instructions:

Read these instructions completely before you begin.
Supplies Needed
• Sublimatable Jewelry
• Sublimation transfer
• Green thermal mat 1/16”
• Heat Resistant Felt Pad(s)
• Heat Gloves
• Heat Tape

Step 1: Adjust Heat Press
Heat Press Temperature: 400o F
Dwell Time: 2.5 minutes
Pressure: Medium

Note: These instructions, including transfer times and temperatures, are based on the inks, paper, presses, and products we use. Your inks, papers, etc. may require adjustments in your time/temp settings.
Step 2: Design & Print Your Transfer

Design your transfer based on the jewelry size and shape. If you are designing a full-bleed image, we recommend designing the transfer so that it is at least 1/8” larger than each piece of jewelry, all the way around. If using our templates, this bleed is built into the template.
Step 3: Aligning Transfer

1. Place Transfer face-up on table. The glossy side is the coated side of the jewelry. Place coated side of jewelry face down on the transfer. If there is yellow masking tape, peel it off before pressing. If you have framed shell jewelry remove the shell from the frame before pressing.
2. Align jewelry to center of transfer. There should be a slight bleed around the image which will allow you to line up the jewelry properly.
3. Secure with heat tape.

Step 3: Transfer the Image -

4. Place a Heat Resistant Felt Pad on your press bed.
5. Place your jewelry face-u on the Felt Pad. (transfer is facing down on top of the shell jewelry)
6. Lay a 1/16” (or 1/8”) over the top of the transfer paper.
7. Using Medium pressure, press at 400o F, for 2.5 minutes.
8. Remove jewelry and transfer from press. Carefully peel away transfer. Let air cool.
Caution: Do not immerse the jewelry in water to cool.

Transfer Tips & Techniques

 If you notice any paper sticking, reduce the temperature or dwell time (reduce one variable at a time). If that does not help, please call Customer Support for assistance.
 After a few pressings you may find it necessary to slightly increase the pressure while keeping your press closed.

Customer Support

For support on these or any of our products, please call our toll-free number for assistance: 877.795.1500. You may also write to us at support@laserreproductions.com

Product Information

Dimensions: 1" x .69"