Skip to content
"CLICK HERE" Checkout our CLOSE-OUT Section! Tons of Amazing Products & Low Prices! "CLICK HERE"

Country

Natural Wood 1-4" No Support Bars

SKU PHOBS141212
Original price $7.00 - Original price $16.00
Original price
$8.00
$7.00 - $16.00
Current price $8.00

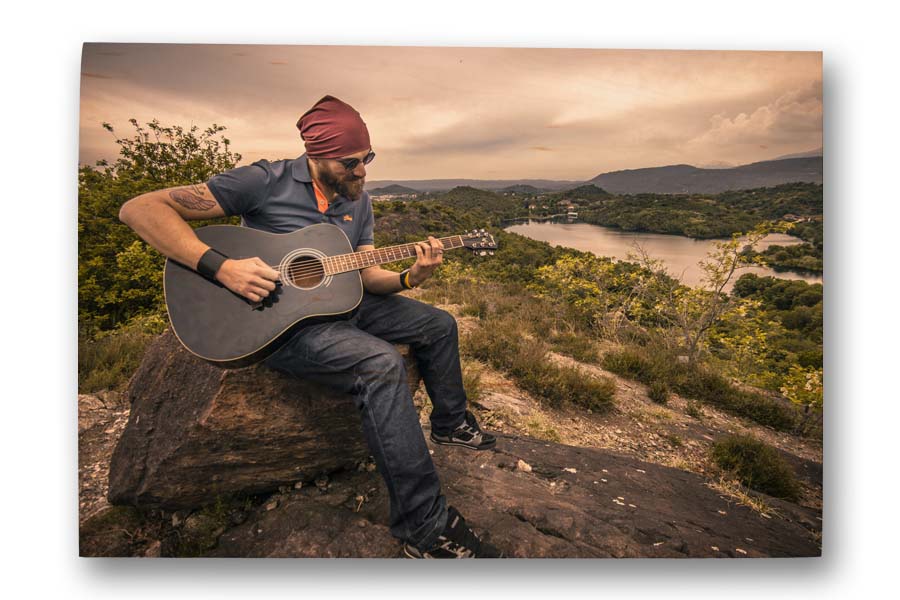
White coated Natural Birch Wood! Developed and manufactured by LRI.

Wood signs are assembled with a 1/16" spacing to re-create an original look and feel.
These plank signs are ready to sublimate and sell.
When placing your order be sure to ask for one set of 3 wood press support strips free of charge.

The subtle wood grain still mildly shows through light areas of an image,
producing bright and colorful image reproductions, from rustic text designs
to realistic family and wedding photographs!

Perfect eye-catching wall décor pictures & signs.
Great for home, garage, porch, office or commercial locations.

Wood boards are 1/4" thick with two 5/8” wood support rails nailed and glued to the back for long-lasting durability & pleasing shadow mount effect.

Custom sizes available by request (12pc. minimum order).
Call or email us for a quote on your project!

Select an option:: Sublimation Blank 1/4" thick 12" x 12" Bulk Wood Boards
TRANSFER INSTRUCTIONS

Photo Wood Boards and Plank Signs
Transferring Instructions

Read these instructions completely before you begin.
Supplies Needed
• Sublimatable Photo Wood Board or Plank Signs
• 3 Support wood press supports, needed when pressing ¼” Signs or Plank Signs
One set comes Free with your order when requested!
• Sublimation Transfers
• Heat Gloves
• Thermal Rubber Mat (optional)

Instructions for Wood Photo Boards
Step 1: Adjust Heat Press
Heat Press Temperature: 400 Deg F
Dwell Time: 1 min 35 seconds when using our Thermal Rubber Mat
Or 35 – 45 seconds without using our Thermal Rubber Mat
Pressure: Very Firm

Step 2: Design & Print Your Transfer
Note: Design your transfer based on the Wood Photo Board size. If you are designing a full-bleed image, we recommend that you design the transfer so that it is at least 1/8” larger than the wood around each side.

Step 3: Transfer the Image
1. Place Wood Photo board face up on onto the heat press.
2. Place your transfer face-down on top of the Wood Photo Board. Check placement of your transfer so that keyhole aligns with the top of your transfer. Tape the transfer into position on the back of the board in the middle of the transfer on two sides.
3. Option to place our thermal rubber mat on top of Wood Photo Board.
4. Using Very Firm pressure, press for 1min 45 seconds at 400 deg. F.

If you don’t have a thermal rubber mat, Wood Photo boards can alternatively be pressed without a mat for 35 to 45 seconds.

¼” Signs & Plank Signs
The same instructions apply but you should place the photo board in the center of your heat press for ideal uniformity of pressure. Use three strips of wood; one in the middle and two ends of the plank sign to get good contact pressure.

Always check for uniformity of print: After pressing holding the center of the transfer with your gloved hand after pressing, and gently pull back both sides of the transfer to insure full color image transfer occurred.
If you are noticing loss of contact color in an area on your board, turn the board 90 degrees and press the board again for an additional 15 seconds.

DO NOT use a clamshell style heat press!

Technical Support
For support on these or any of our products, please call our toll-free number for assistance:
877.795.1500. You may also write to us at support@laserreproductions.com

Product Information

Dimensions: 12" x 24" - 24" x 36", 1/4" or 5/8" thick