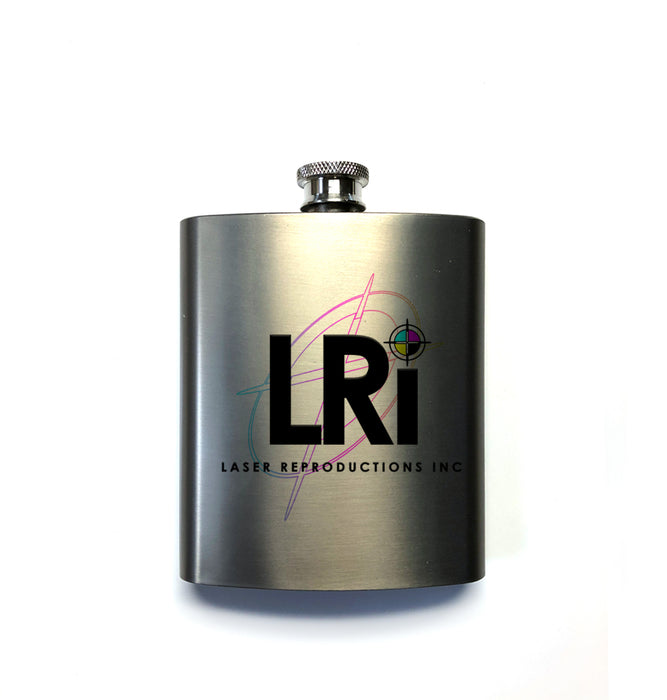
Stainless Steel Flask or Thermos
Transferring Instructions
Read instructions completely before you begin. Call if you have any questions.
Supplies Needed
• King Coat™ Flask or Thermos
• Flask or Thermos UltraWrap™
• Heat Tape
• Heat Gloves
Note: Deliberately stretching the wrap beyond its specifications can result in loss of tension or tearing. Likewise, over-heating the wrap or placing it too close to the oven heating coils can weaken the wrap, causing it to burn or tear. To ensure the full life of each UltraWrap:
• Never over-stretch the wrap beyond the simple distance needed to connect the support bar.
• Never use a wrap for a product other than the one it is intended. Different wraps are required for mugs, steins, shot glasses, pet bowls, etc.
• Do not bake the UltraWrap™ at a temperature hotter, or a time longer, than recommended. See Step 1 for time and temperature recommendations.
• Never place the UltraWrap™ closer than 4” from the oven heating coils.
Note: Failure to follow these instructions could cause product failure.
Step 1: Adjust the oven
UltraWraps are designed for use in regular or convection ovens or industrial conveyor ovens, only. Do not use in a microwave oven under any circumstances. For best results, always preheat your oven. When transferring to the flask, remember to remove the lid, this ensures even heating and prevents the natural expansion of the flask under heat conditions.
Oven Temperature: 400o F (it is very important to not exceed recommended time and temp)
Dwell Time: 5 -6 minutes for Flask
5 – 6 minutes for Thermos
Note: These instructions, including transfer times and temperatures, are based on the inks, paper, ovens and products we use. Your inks, papers, etc. may require adjustments in your time/temp settings.
Step 2: Design and Print Your Transfers
1. Remember to design a mirror image so the final product will be correctly oriented once it is transferred.
2. Print your transfer(s).
Step 3: Transfer the Image
1. Important - remove the top cup and plastic pour spout from thermos or flask before putting it in the oven.
2. Tape transfer to flask or thermos (Fig 1).
3. Wrap the UltraWrap™ Heat Wrap around the flask or thermos, clipping the wrap together on the opposite side of the transfer (Fig 2). For a guide on how to apply the UltraWrap™ follow this link. Note: Make sure the wrap is extremely tight, adjust as needed.
4. Place wrapped flask or thermos in pre-heated oven. Bake at 400o F for 5 – 6 minutes.
5. Remove from oven, remove wrap and transfer. Allow to air cool. Do not immerse in water to cool.
NOTE: Flask and Thermos are NOT dishwasher safe, hand wash only.
Tips:
• Make sure your transfer is longer than the wrap.
• If you transfer is not long enough wrap the entire flask or thermos with a second piece of blank paper.
• If time is not successful on the first attempt, try to use the same flask or thermos and place another test image in an unprinted area to test a different dwell time.
• Add or subtract in 30 second increments as needed.
Customer Support
For support on these or any of our products, please call our toll-free number for assistance: 877.795.1500. You may also write to us at Support@LaserReproductions.com.


