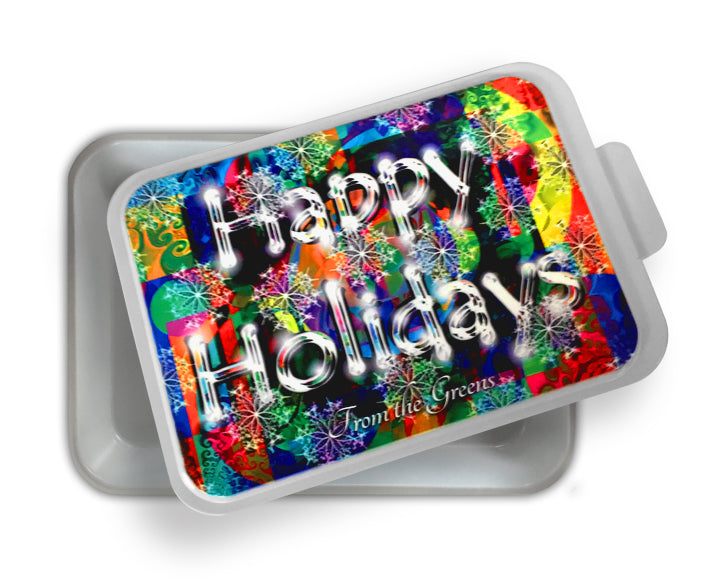
Cake Pan Transferring Instructions
Please read these instructions completely before you begin.
Supplies Needed
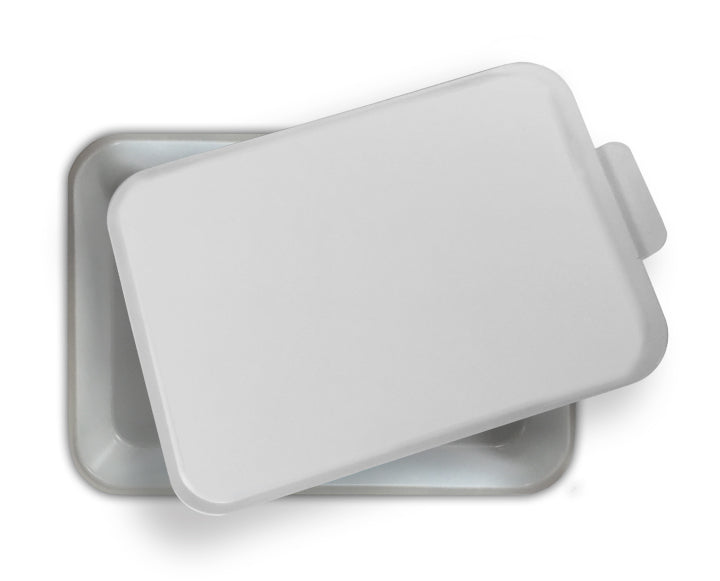
• Coated Cake Pans
• Sublimation ink transfers
• Press support to fit each size lid (two x 1/2” thick rubber cushions)
• Heat resistant tape or spray adhesive
• Heat-resistant gloves (for removing product from heat press)
• Thermal Rubber Mat, 1/16” thick is required!
Note: If you did not purchase a transfer support from us, you can make one yourself by cutting a piece of wood or mouse pad to fit snugly inside the lid of each cake pan (that means it has to be slightly smaller than the lid itself).
Step 1: Adjust the Heat Press
Please note: This product requires a swing-away type heat press. Not recommended for clamshell presses.
Heat Press Temperature: 400o F
Dwell Time: 2-1/2 minutes - with a thermal rubber mat (required!)
Pressure: Medium-Firm
Note: These instructions, including transfer times and temperatures, are based on the inks, paper, equipment and supplies we use. Your inks, papers, etc. may require adjustments in your time/temp settings.
Step 2: Design & Print Your Transfers
1. For best results, the transfers should be slightly smaller than the surface of the lid. Bleeding off of the lid is not recommended because of the curved edges. We recommend using our Design Templates to size and cut your image.
2. Remember to print a mirror image so the final product will be correctly oriented once it is transferred.
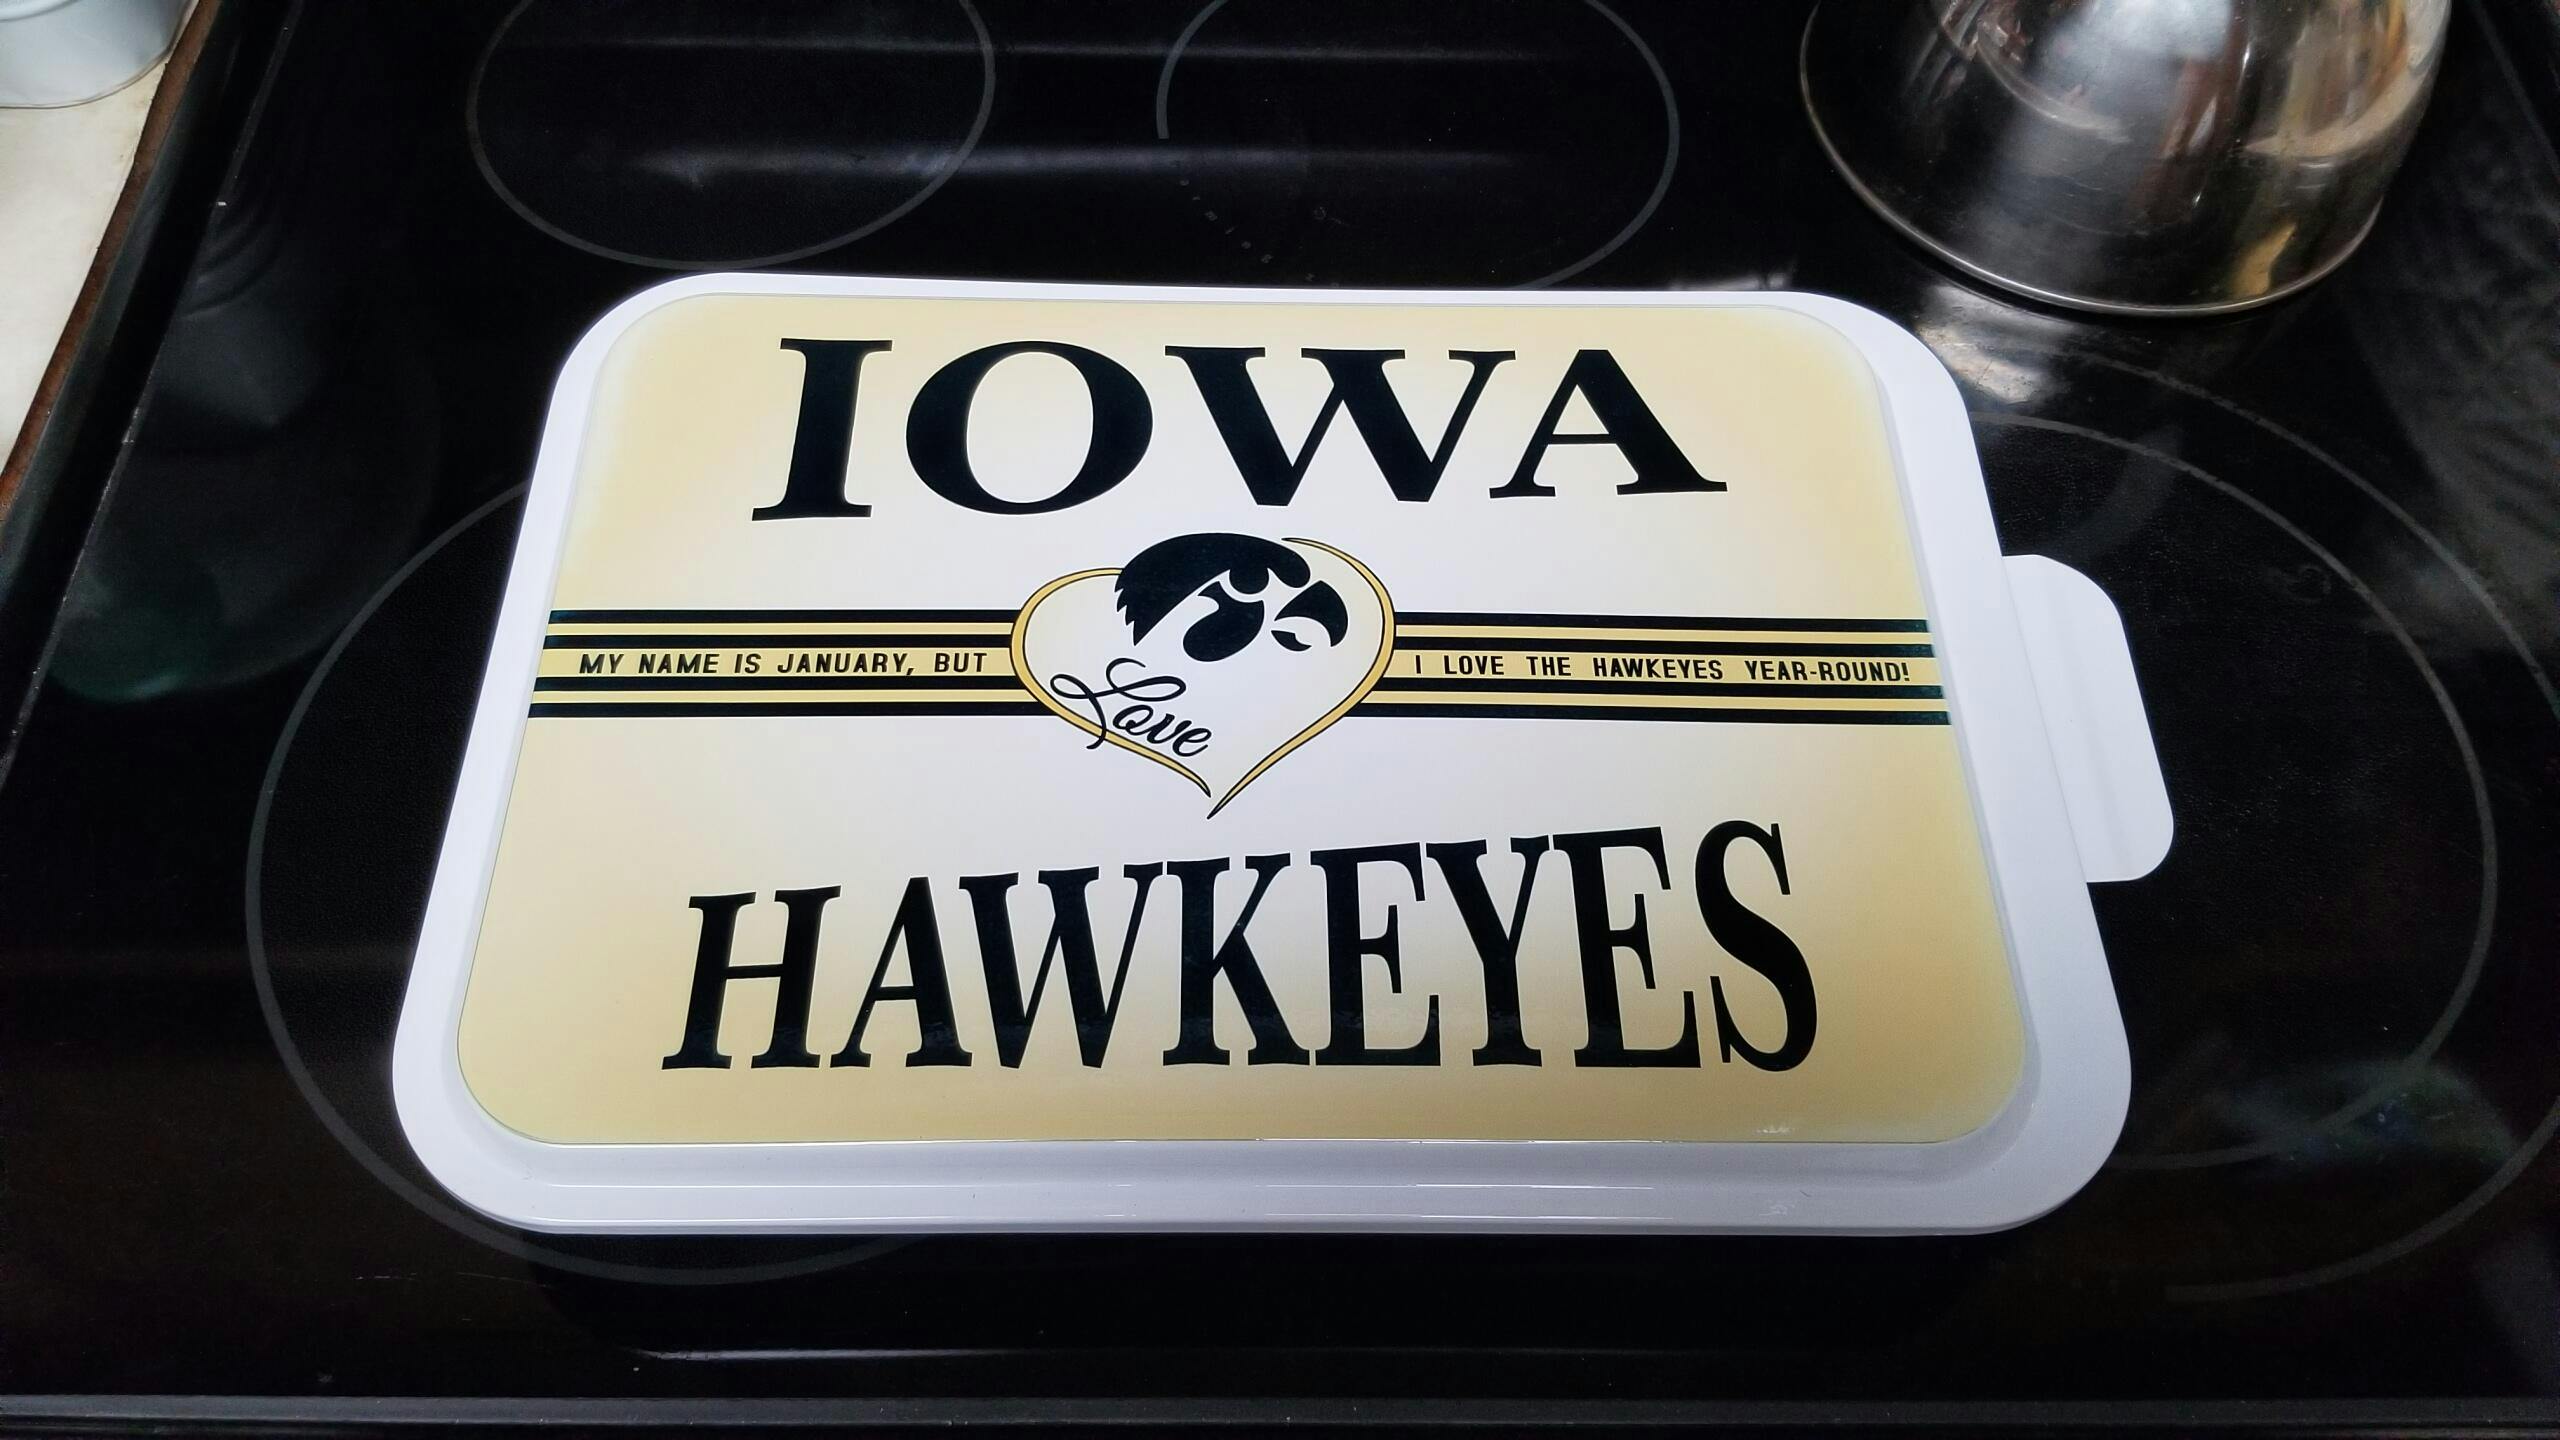
Step 3: Transfer the Image
1. Place your transfer, face-down, on the cake pan lid. Make sure the transfer is registered correctly. We recommend you cut out the transfer around the template border in order to properly register to the cake pan lid.
2. Secure transfer to lid with some heat tape or spray adhesive.
3. Place the cake pan lid & transfer on top of the two press support cushions.
4. Place the press support / lid / transfer / in the center of the press bed. The press support should be on the bottom (against the press bed) and the lid with the transfer on it should be on top, facing down.
5. Place the thermal rubber mat over the transfer paper.
6. Close the heat press. Using Medium-Firm pressure, press at 400o F for 2.5 minutes.
7. Open the press, carefully remove the rubber mat, the tin lid, and the transfer. Caution: The tin lid will be HOT. We recommend using heat resistant gloves.
Transfer Tips, Techniques & Troubleshooting
• Prints light in places:
a. Check your time and temperature. You should be pressing at 400o F for 2.5 minutes with the rubber mat. Lightness may be caused by too little pressure.
b. Check your pressure. Your press may have a “cold” or worn spot. Try increasing pressure and/or moving the tin to the left or right.
• The outside edges print light:
c. Check to make sure you are using firm pressure.
d. Make sure you have placed the cake pan lid in the center of the press.
e. Make sure your press support is smooth and even on both sides – and equal thickness all the way around. Not worn out.
• If you don’t have a thermal rubber mat:
f. Press the cake pan at 400° F for 55 seconds following all other previous instructions. We do not recommend sublimating cake pans without a rubber mat. Press at your own risk!
Customer Support
For support on these or any of our products, please call our toll-free number for assistance: 877.795.1500. You may also write to us at Support@LaserReproductions.com.