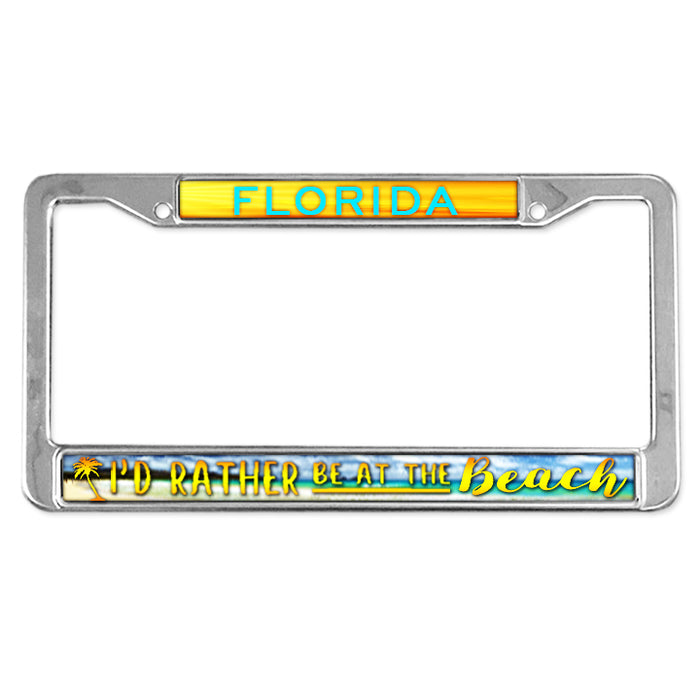
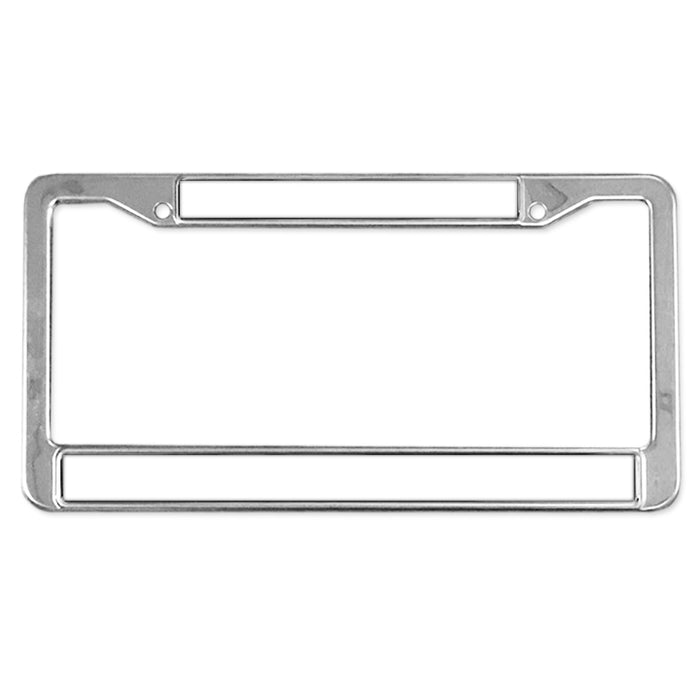
License Plate Frame
Transferring Instructions
Read these instructions completely before you begin.
Supplies Needed
• Sublimatable Aluminum Inserts
• Sublimation Transfer
• Heat Tape
• Heat Gloves
• 2-part epoxy to affix inserts onto license plate frame.
Step 1: Adjust Heat Press
Heat Press Temperature: 400o F
Dwell Time: 50 seconds
Pressure: Firm
Note: These instructions, including transfer times and temperatures, are based on the inks, paper, presses, and products we use. Your inks, papers, etc. may require adjustments in your settings.
Step 2: Design & Print Your Transfer
Design your transfer based on the insert size and shape. If you are designing a full-bleed image, we recommend that you design the transfer so that it is at least 1/8” larger than the piece, all the way around. This bleed allowance is already built into our templates. Our templates are posted on our website at http://www.laserreproductions.com/Design-Templates.html.
Step 3: Transfer the Image
1. Heat press should have Teflon on bottom.
2. Tape the transfer in position in two places with the two inserts, so it doesn’t move when pressing.
3. Place your transfer face-up on the Teflon heat table.
4. Thus the aluminum insert coated side down on the transfer. Be sure to remove the protective film from the insert before pressing!
5. Tape in position in two places to insure registration.
6. Using Firm pressure, press for 50 seconds @ 400o F.
Step 4: Cooling
Carefully remove inserts from the press using heat gloves. Remove transfer paper and allow the inserts to cool.
Adhering the insert onto the License Plate Frame
To secure inserts onto the license plate frames apply equal amounts of two-part A & B epoxy (either Loctite Epoxy or JB Weld 4 oz. bottles) to the center area of the license plate. Mix well with small thin stick. Place insert in register onto the license plate frame and let it sit undisturbed for an hour.
You can place a little weight on top of the insert to keep it in close contact with the frame while drying.
If you have any problems or questions stop production immediately and contact Technical Support for help.
Technical Support
For support on these or any of our products, please call our toll-free number for assistance: 877.795.1500. You may also write to us at support@laserreproductions.com.