Skip to content
"CLICK HERE" Checkout our CLOSE-OUT Section! Tons of Amazing Products & Low Prices! "CLICK HERE"

Country

Sublimation Blank 4" x 4" Whited Travertine Marble Tile

SKU TILKTR44
Original price $3.00 - Original price $3.00
Original price
$3.00
$3.00 - $3.00
Current price $3.00

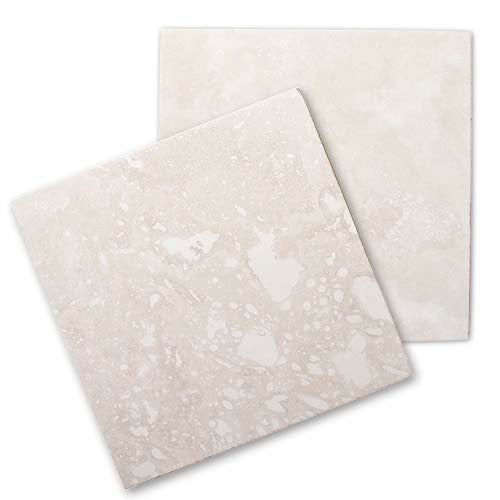
4" x 4" Whited Travertine Marble tiles are our newest addition to our line of marble tiles! 

Features King Coat™ for superior durability and color. As this is a filled-in smooth surface marble tile, that has been
white coated so they will have little variation and very straight cut edges. Note the porous holes in the edge and bottom of each tile.
For a very clean contemporary look when imaged.


TRANSFER INSTRUCTIONS

Marble Tiles

Transferring Instructions¬
Supplies Needed
• Sublimatable Marble Tiles
• A swing away style heat press
• Sublimation Transfer
• Heat Resistant Felt Pads
• Heat Resistant Gloves
• Cover sheet- teflon or thin paper

p 1: Adjust Heat Press

Heat Press Temperature: 400o F
Dwell Time: 6 – 7 minutes
Pressure: Medium

These instructions, including transfer times and temperatures, are based on the inks, paper, presses, and products we use. Your inks, papers, etc. may require adjustments in your time/temp settings.
Step 2: Design & Print Your Transfer

Design your transfer based on the tile size. If you are designing a full-bleed image, we recommend designing the transfer so that it is at least 1/8” larger than each tile, all the way around.
Step 3: Transfer the Image

1. Place the Heat Resistant Felt Pads on heat press platen. For best results, we recommend at least two layers of Heat Resistant Felt Pad (use two pads or fold one felt pad over).
2. Place transfer on felt pads, face-up.
3. Place tile face-down on the transfer. You will be heating through the back of the tile
4. Close the heat press.
5. Tips & Troubleshooting
• If you are designing a full bleed image your printed area should be at least 2/10” larger than the tile. If your tile is 6x6”, your printed transfer should be 6.2”x6.2”.
• If your image is not a full bleed, print registration marks or print a square line slightly larger than the size of the tile.
• The tile should be centered under the main pressure point of your heat press platen.
• When pressing multiple tiles at once, we recommend leaving at least 1” space between each tile. You should also add an additional 30 seconds to your dwell time for multiple tiles.


Customer Support

For support on these or any of our products, please call our toll-free number for assistance: 877.795.1500. You may also write to us at Support@LaserReproductions.com.


Tip: when pressing full bleed images, we find it best to cut out each transfer into singles so as the tile will press fully along the edges of the tile. This is a critical problem/solution. Thank you.

Product Information

Dimensions: 4" x 4"

Customer Reviews

Be the first to write a review
0%
(0)
0%
(0)
0%
(0)
0%
(0)
0%
(0)