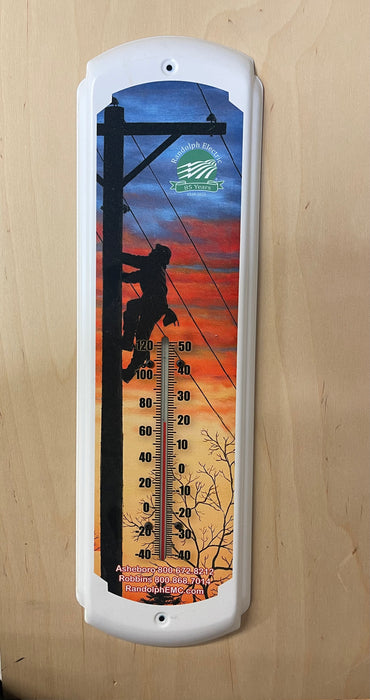
Classic Thermometer
Transferring Instructions
Supplies Needed
• Blank Classic Thermometer. Includes metal base and a glass bulb in a metal housing.
• Sublimation transfer
• Thermal rubber mat
• Wood press support, 14¼” x 4" x 5/8". If you make your own press support, we recommend using a hardwood because it resists warping.
• Heat resistant tape
• Heat-resistant gloves
• Clear silicone glue, Crazy Glue, or 4 small metal screws (not included)
Step 1: Adjust Heat Press
Heat Press Temperature: 400o F
Dwell Time: 1:50 – 2:00 minutes
Pressure: Firm
Note: These instructions, including transfer times and temperatures, are based on the inks, paper, presses, and products we use. Your inks, papers, etc. may require adjustments in your time/temp settings.
Step 2: Design Your Transfer
You can download templates from http://www.laserreproductions.com/Design-Templates.html Using our templates is essential for properly lining up the transfer to the thermometer. Print your transfer in the usual manner, making sure to mirror your image.
Step 3: Transfer the Image
1. Place your image transfer face-up on the table.
2. Place the Classic Thermometer face-down on the transfer. Make sure it is correctly registered on all four sides. Line up the 2 screw holes printed on the transfer paper with the 2 screw holes in the thermometer.
3. Tape into position using heat tape.
4. Place the wood press support on the center of the heat press platen.
5. Place the Classic Thermometer/transfer over the wood support. Make sure that the metal base fits flat against the wood support.
6. Cover the thermometer with the thermal mat.
7. Close the heat press. Using Very Firm pressure, press at 400o F for 1:45 - 2:00 minutes.
8. Open the press, remove the product, and peel away the transfer. CAREFUL handling the thermometer, it will be very hot. We recommend using heat resistant gloves.
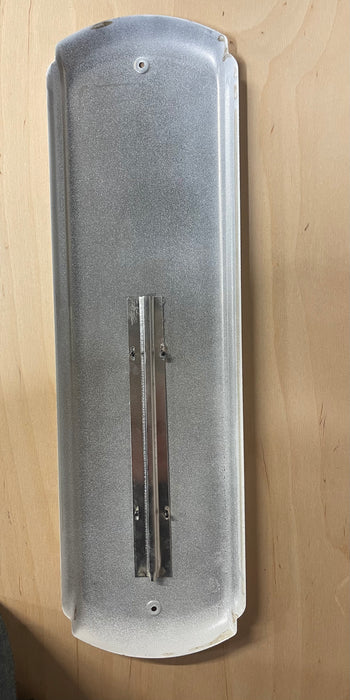
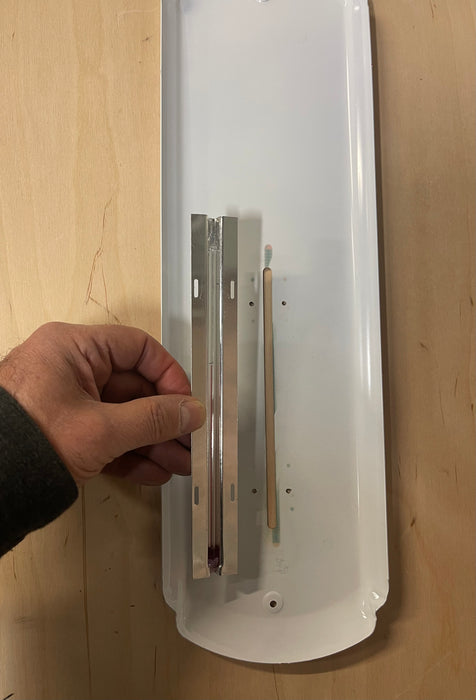
Step 4: Apply the Glass Bulb
Note: If there is a bubble in the glass bulb, place it in a glass of very warm water for a few minutes. The red liquid will rise and the bubble will disappear. Remove the bulb from the water, let it dry, and proceed.
1. After the thermometer has cooled, gently place the glass bulb/metal housing over the vertical opening in the back of the thermometer. Line up the four small holes on the metal bulb housing with the four small holes on the thermometer base. The small red line on the glass bulb must be positioned at the 68o Fahrenheit mark (20o centigrade).
2. Secure each side of the bulb/housing to the thermometer using a strong silicone or glue. Or, if you prefer, you can use small screws or rivets (not included) to secure the bulb to the thermometer base.
3. Allow to dry.
Customer Support
For support on these or any of our products, please call our toll-free number for assistance: 877.795.1500. You may also write to us at Support@LaserReproductions.com.