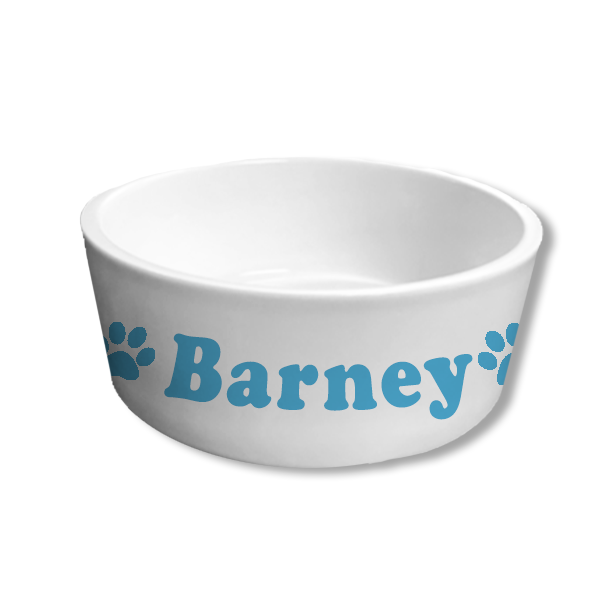
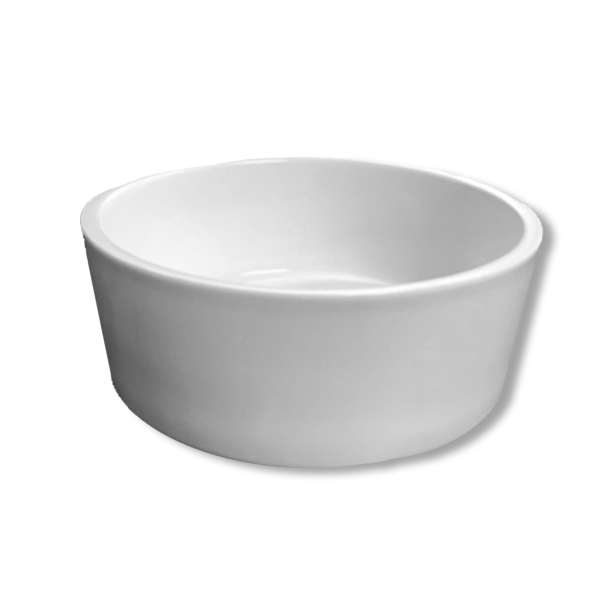
Ceramic Pet Bowl Transferring Instructions
Read these instructions completely before you begin.
Supplies Needed
• Dog or cat bowl
• UltraWrap™ or Shrink Wrap.
• Heat Tape
• Heat Gloves
Important: Read instructions before use.
UltraWraps have been tested and proven to work successfully for hundreds of consecutive uses per wrap. However, deliberately stretching the wrap beyond its specifications can result in loss of tension or tearing. Likewise, over-heating the wrap or placing it too close to the oven heating coils can weaken the wrap, causing it to burn or tear. To ensure the full life of each UltraWrap:
• Never over-stretch the wrap beyond the simple distance needed to connect the hook to the support bar.
• Never use a wrap for a product other than the one it is intended. For example, do not attempt to use the cat bowl wrap on a dog bowl or vice versa; you will not achieve the desired result.
• Do not bake the UltraWrap at a temperature hotter, or a time longer, than recommended. See Step 1 for time and temperature recommendations.
• Never place the UltraWrap closer than 4” from the oven heating coils.
Failure to follow these instructions could cause product failure and void any product warranty.
Step 1: Preheat Your Oven
UltraWraps are designed for use in regular or convection ovens or industrial conveyor ovens, only. Do not use in a microwave oven under any circumstances. Preheat oven to Bake at 400o F in convection oven. For best results, oven must be at full temperature prior to using UltraWraps.
Oven Temperature: Bake at 400o F
Dwell Time: 11 minutes for Dog Bowl
9 minutes for Cat Bowl
Note: These instructions, including transfer times and temperatures, are based on the inks, paper, ovens and products we use. Your inks, papers, etc. may require adjustments in your time/temp settings.
Step 2: Print Your Transfer
Print your transfer(s) in the normal way. If you are printing both sides of the bowl it is best to cut the transfer in half. (Fig 1)
Step 3: Tape transfer to dog or cat bowl
Step 4: Put the Ultra wrap around the pet bowl and attach. With the mouth of the bowl pointing to the left, press loop side of the wrap side of the bowl. Make sure the wrap extends past the top and bottom of the bowl. Stretch the rubber around the bowl and connect the wrap together.
Step 5: With your other hand, stretch the wrap down and around the right side of the bowl.
Bring one end of the wrap around to meet the other end, so that the metal rods are parallel. Connect the wrap together by threading the thorn on one end of the wrap through the loops on the other end of the wrap, and snap together.
Using the Shrink Wrap
6b: place the film circle around the pet bowl. Tape the film in position on one or two places to keep it in position around the wall of the pet bowl. Note: there are two sizes of Shrink wrap for the the two size pet bowls we offer. Place in preheated oven for 10 seconds and check to insure the film shrinks in correct position. Then close the oven door and back for the prescribed amount of time.
Step 7: Place the wrapped bowl in a preheated oven. Do not place closer than four inches from the heating coils.
Step 8: When done, immediately remove wrap and bowl from oven. Remove wrap and transfer from bowl. Items are HOT! We recommend using oven heat gloves. Do not immerse dog or cat bowls in water. They are subject to thermal shock and could crack.
Troubleshooting & Tips:
1. Place hot pet bowls in front of a fan to keep the sublimation dye from ghosting on the pet bowl.
2. Moistening the bottom edge of the transfer paper will help with printing along the bottom of the pet bowl, if you are trying to print all the way to the bottom of the bowl.
Customer Support
For support on these or any of our products, please call our toll-free number for assistance: 877.795.1500. You may also write to us at Support@LaserReproductions.com.


